
Last Updated: October 14, 2026
Peptide sterility screening tests research-grade peptides for viable microorganisms that could compromise your results or safety. A single contaminant can skew data, invalidate months of work, or create safety concerns.
At Rejuvenation Wellness Solutions LLC, every peptide undergoes independent lab testing with a Certificate of Analysis documenting sterility status alongside purity verification.
Assuming sterility instead of verifying it separates reproducible research from wasted resources; a contaminated batch won’t announce itself until you’ve invested hours into your protocol.
Sterility testing for peptides relies on culture-based methods designed to grow any viable microorganisms present. The most widely recognized standard is USP <71>, which defines sample collection, media preparation, and incubation conditions to maximize contamination detection.
Culture-based testing places your sample into nutrient-rich growth media where bacteria, yeast, and mold can multiply. After incubation, technicians observe whether growth occurs: no growth typically means no viable microorganisms; growth indicates contamination.
The catch: culture-based testing only detects viable microorganisms capable of growing under the specific conditions used. Dead microorganisms, non-germinating spores, or organisms needing different nutrients won’t show up, so sterility testing is one piece of quality verification, not the whole picture.
USP <71> is the compendial sterility testing method recognized across research and pharmaceutical industries, specifying growth media, incubation temperatures, duration, sample size, and result interpretation.
Two media are typically used: thioglycollate medium (aerobic and anaerobic bacteria) and soybean casein digest medium (bacteria and fungi). Your sample is inoculated into both, incubated at specific temperatures for up to 14 days, and checked for visible growth, turbidity, or colonies.
The appeal of USP <71> is standardization: any laboratory using it produces results other researchers interpret the same way. If your Certificate of Analysis states “Tested per USP <71>: No Growth Observed,” you know exactly what that means.
Bacteria, yeast, and mold are the three categories most likely to contaminate peptide samples, each posing different risks.
Bacteria are the most common contaminant, multiplying quickly in culture media and detected in most positive sterility tests. Aerobic bacteria grow on soybean casein digest medium; anaerobic bacteria grow in thioglycollate medium.
Yeast and mold grow more slowly than bacteria but are harder to prevent during manufacturing and handling, thriving on peptide material because peptides contain amino acids they can metabolize.
The source of contamination matters for prevention.
Sterility testing and endotoxin testing serve different purposes. Sterility testing detects viable microorganisms. Endotoxin testing detects endotoxins, toxic compounds released by gram-negative bacteria, even if those bacteria are dead.
Endotoxins are pyrogens that trigger fever and inflammatory responses (pubmed.ncbi.nlm.nih.gov).
Endotoxin levels are measured in endotoxin units per milliliter (EU/mL). The Limulus Amebocyte Lysate (LAL) test is the standard method, detecting levels as low as 0.005 EU/mL.
Endotoxin thresholds vary by intended use: injectable research peptides typically require lower levels than topical applications. Knowing your own requirements helps you evaluate whether a Certificate of Analysis meets your needs.
How you collect and handle your sample before testing directly affects whether results are meaningful: a poorly collected sample can show contamination that doesn’t represent your batch, and a contaminated container can introduce false positives.
A representative sample accurately reflects your entire batch. If you order 10 vials, testing one tells you about that vial, not necessarily all 10; ideally, multiple vials from different shipment positions are tested to increase confidence.
Sample size matters too: testing 0.1 mL of a 10 mL vial may miss rare contamination events, while larger samples increase detection probability. USP <71> specifies minimum sample volumes for different scenarios.
Document which vial you sampled, when, and from which shipment position. If contamination is detected, this helps determine whether the problem is batch-wide or isolated to certain vials or storage conditions.
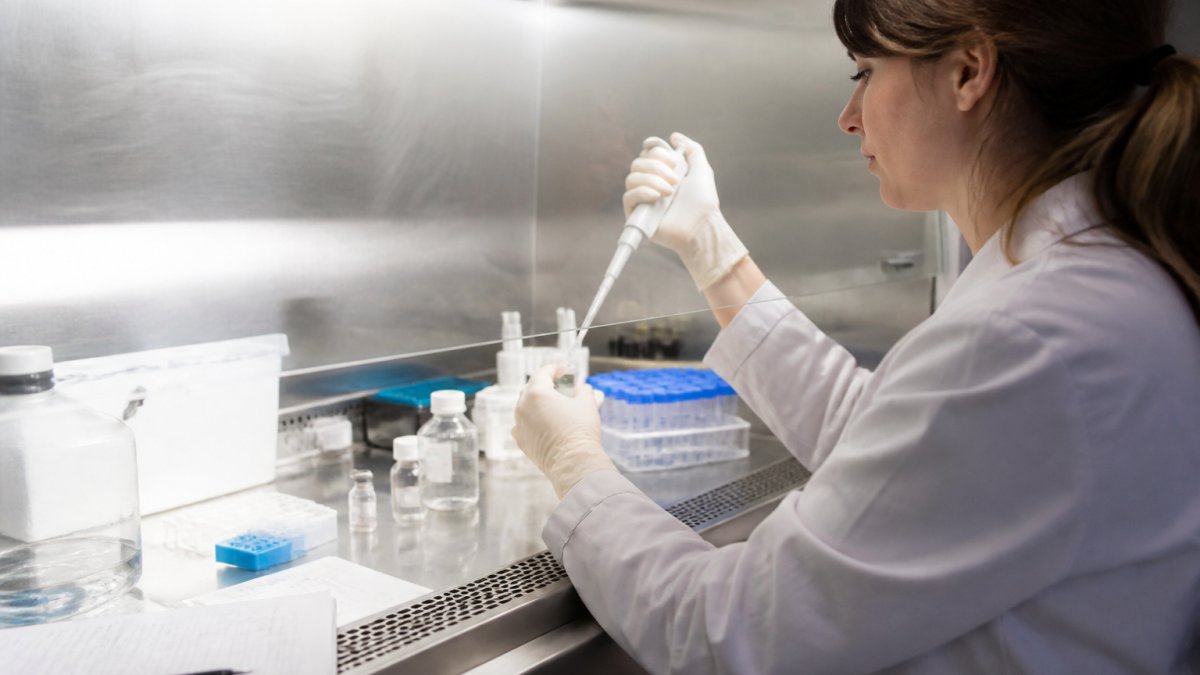
Contamination can occur after receipt but before testing. Use sterile technique when opening vials, wear gloves, use sterile syringes and needles, and store samples in clean, cool conditions; room-temperature storage can accelerate microbial growth before testing begins.
Time between collection and testing matters: longer delays let viable microorganisms multiply, making contamination easier to detect but also increasing false-positive risk from environmental exposure. Ideally, samples reach the lab within 48 hours.
A Certificate of Analysis documents that your peptide was tested and what those tests showed. Not all are equally detailed or reliable.
A complete Certificate of Analysis should include:
Missing information is a red flag. If a Certificate of Analysis doesn’t specify the testing method (USP <71> vs. another standard), you can’t compare it meaningfully to other results. If it doesn’t list endotoxin levels, you’re missing critical safety data.
“No Growth Observed” means the sterility test detected no viable microorganisms under the conditions tested. This doesn’t mean your sample is absolutely sterile, it means no growth occurred in that specific test. Acceptance criteria depend on your research use.
For research peptides intended for injection, typical acceptance criteria include:
Your specific requirements may differ. If you’re working with a research institution or clinical trial organization, they may have stricter criteria. Know your own requirements before ordering, so you can verify that your Certificate of Analysis meets them.
A positive result (growth detected) doesn’t automatically mean the entire batch is unusable. It means that particular sample showed contamination. The source, manufacturing, handling, or storage, determines next steps.
Third-party testing means an independent laboratory, not the peptide manufacturer, conducts the sterility and purity testing.
When you order from Rejuvenation Wellness Solutions LLC, every peptide undergoes independent lab testing. The testing laboratory is not part of our manufacturing chain.
Manufacturer-conducted testing is faster and cheaper, but it lacks the objectivity of third-party verification. If a batch shows contamination, a manufacturer has financial incentive to dispute the result.
For research use, third-party testing also creates documentation you can reference in your research protocols and publications. Reviewers, institutional review boards, and collaborators can see that your materials were independently verified.
Research teams often make preventable errors in peptide screening that lead to wasted time or invalid results.
Mistake 1: Assuming sterility without testing. This is the most common error.
Mistake 2: Ignoring sample handling. You receive a sterile peptide, then contaminate it during storage or sample preparation. Store your peptide in clean conditions.
Mistake 3: Not understanding your acceptance criteria. You receive a Certificate of Analysis and assume it’s acceptable without verifying it meets your research requirements.
Mistake 4: Testing too late. You don’t request testing until you’ve already used half the batch. By then, if contamination is detected, you’ve already contaminated your research.
Sterility testing has real limitations that researchers need to understand. A negative sterility result (no growth observed) does not prove your entire batch is sterile. It proves that the sample tested showed no viable microorganisms under the conditions tested.
Sampling limitations include:
Understanding these limits helps you interpret your Certificate of Analysis correctly. A negative result is good news, it means no viable growth was observed. It’s not proof of absolute sterility, but it’s the best verification available for research peptides.
Your Certificate of Analysis shows your peptide was sterile at the time of testing. Keeping it sterile after testing is your responsibility.
Store your peptide in cool, clean conditions. Keep vials sealed until use. When you open a vial, use sterile technique: wear gloves, use sterile syringes and needles, and prepare solutions with sterile diluent (like bacteriostatic water) in sterile containers. Document your handling and storage conditions.
If your peptide will be stored long-term, consider storage conditions carefully. Room temperature storage allows faster microbial growth than refrigerated storage. Freezing extends stability. Check your supplier’s storage recommendations, Rejuvenation Wellness Solutions LLC provides detailed storage guidance with every order.
A systematic screening workflow prevents mistakes and creates documentation you can reference later.
Step 1: Request Certificate of Analysis before delivery. Contact your supplier and confirm they’ll provide third-party testing results before your order ships.
Step 5: Use sterile technique when handling. Wear gloves. Use sterile syringes and needles. Keep vials sealed until use.
Step 7: Store properly. Follow your supplier’s storage recommendations. Keep peptides cool and sealed.
Peptide sterility screening isn’t just a compliance checkbox, it’s the foundation of research you can trust.
Sterility testing for research peptides typically uses culture-based methods outlined in USP <71>, where samples are incubated in growth media to detect viable microorganisms including bacteria, yeast, and mold. Aerobic and anaerobic cultures are maintained under specific incubation conditions to allow any microorganisms present to grow. Results are evaluated after the test duration to determine whether the sample meets acceptance criteria. This method identifies microbial contamination that could compromise your research outcomes.
Peptide sterility testing detects living microorganisms (bacteria, yeast, mold) through culture-based methods, while endotoxin testing measures bacterial endotoxins, toxic components that remain even after microorganisms are dead or removed. Both tests are important for research-grade peptides. A peptide can pass sterility testing but still contain endotoxin, or vice versa. Together, they provide comprehensive quality verification and contamination risk assessment for your research applications.
A Certificate of Analysis documents the results of sterility testing and other quality checks performed on a specific lot or batch, but it reflects the sample tested at that moment. It does not guarantee sterility throughout the entire vial’s shelf life, especially if handling or storage conditions change after testing. The certificate shows that the peptide met acceptance criteria when tested, but proper handling, storage, and timely use are essential to maintain that quality. Always review the test method, acceptance criteria, and lot-specific documentation on the certificate.
Third-party testing provides independent verification of purity, sterility, and endotoxin levels, eliminating potential bias and ensuring objective results. Independent laboratories follow compendial methods like USP <71> and maintain no financial stake in the outcome. This verification builds confidence in your research data and helps you identify contamination or quality issues that could affect your results. Many researchers require third-party testing documentation before conducting clinical trials or publishing findings, making it essential for credibility and reproducibility.