
Last Updated: October 2, 2026
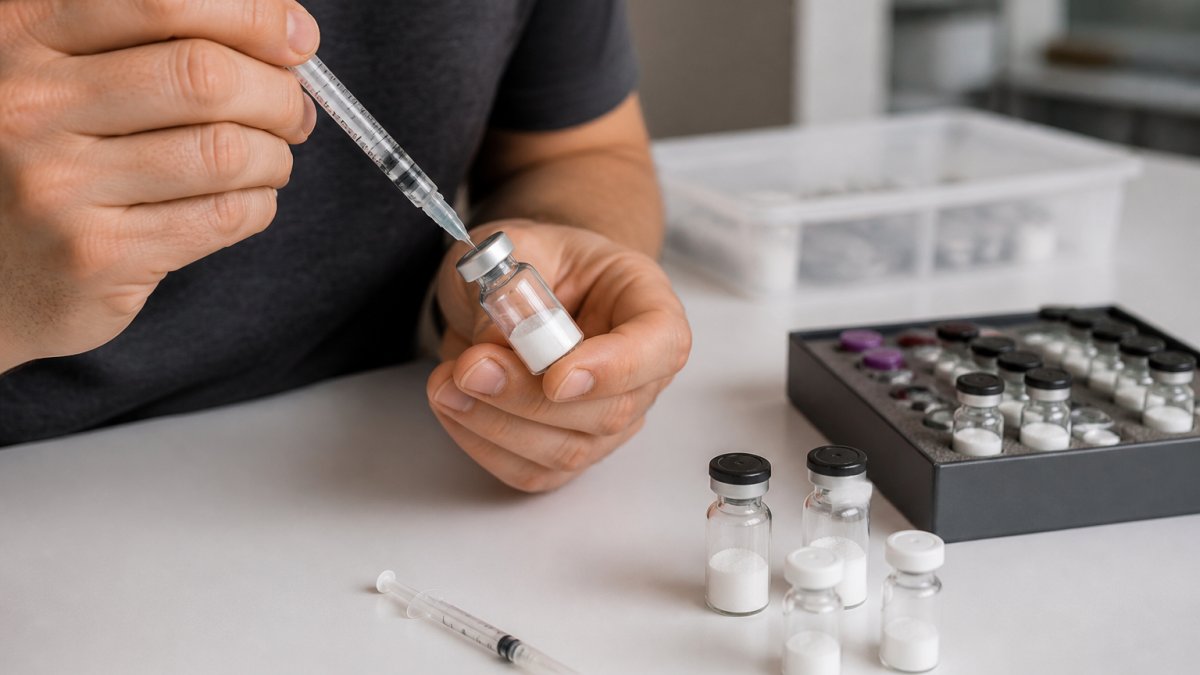
A peptide dosage and administration guide starts with one core skill: turning lyophilized powder into a measurable solution, and getting the peptide dosage right depends on it.
Reconstitution means adding liquid to freeze-dried peptide powder so it dissolves into a measurable solution. Most researchers use bacteriostatic water.
For example, a 5 mg vial mixed with 2 mL of water gives 2.5 mg per mL, or 2,500 micrograms per mL. From there, calculate draw volume from your target dose.
A common mistake is adding water without recording the exact volume. Write it on the vial label.
Bacteriostatic water suits multi-use vials because its preservative keeps the solution usable across several draws; sterile water, with no preservative, suits single-use situations. If you draw from the same vial more than once, use bacteriostatic water, store it properly, and follow aseptic technique.
Manual math invites errors, especially converting between milligrams and micrograms. A peptide reconstitution calculator removes that risk. But it only confirms draw volume, not how often to draw.
Here is how a calculator works, step by step:
Most calculators assume a U-100 insulin syringe, where 100 units equal 1 mL. Confirm your syringe scale before trusting the number.
| Input | Example Value | What It Means |
|---|---|---|
| Vial mass | 5 mg | Total peptide in the vial |
| Water added | 2 mL | Diluent volume |
| Concentration | 2.5 mg/mL | Mass per unit volume |
| Target dose | 250 mcg | Your planned amount |
| Draw volume | 10 units | Amount to pull |
Run the calculation twice. If the results match, move forward; if not, find the error before you draw.
The table below shows typical research ranges from the literature and supplier documentation, reference points for protocol design, not prescriptions. Confirm against the specific certificate of analysis and any study you are replicating.
| Peptide Category | Example Compound | Typical Research Range | Typical Frequency |
|---|---|---|---|
| GH secretagogue | Ipamorelin | 100-300 mcg | 1-3x daily |
| GH secretagogue | CJC-1295 (no DAC) | 100-200 mcg | 1-3x daily |
| GH secretagogue | Sermorelin | 100-300 mcg | 1x daily, evening |
| Fat loss / metabolic | AOD-9604 | 250-500 mcg | 1-2x daily |
| Fat loss / metabolic | MOTS-c | 5-10 mg | 3-5x weekly |
| Nootropic | Semax | 200-600 mcg | 1x daily |
| Nootropic | Selank | 250-500 mcg | 1x daily |
| Healing / recovery | BPC-157 | 250-500 mcg | 1-2x daily |
| Healing / recovery | TB-500 | 2-2.5 mg | 2x weekly |
Treat every number as a starting reference. The right dose depends on the study replicated, the model system, and the endpoint measured.
Dosing frequency follows from how long the peptide stays active in circulation. A short half-life clears quickly and needs more frequent administration to hold a steady level; a long half-life can be dosed less often.
| Compound | Approximate Half-Life | Practical Implication |
|---|---|---|
| Sermorelin | Minutes | Short pulse; often dosed once daily at night |
| Ipamorelin | ~2 hours | Multiple daily doses to sustain effect |
| CJC-1295 (no DAC) | ~30 minutes | Paired with a longer-acting secretagogue |
| CJC-1295 (DAC) | ~6-8 days | Weekly dosing is common |
| BPC-157 | Short (hours) | Once or twice daily |
| TB-500 | Days | Twice weekly |
| Semax | Minutes to hours | Once daily, often intranasal in studies |
A common pattern is matching the dosing interval to roughly one to two half-lives. A peptide that clears in two hours leaves long gaps at once-daily dosing; one that clears over several days stacks with daily dosing and can overshoot the target range.
Timing matters for peptides that interact with endogenous hormone pulses. GH secretagogues are often studied at night, when natural GH release peaks, and away from meals, because insulin and glucose can blunt the GH response. Metabolic peptides like AOD-9604 are frequently studied fasted; nootropic peptides such as Semax and Selank in the morning to align with cognitive testing windows. These are patterns from published protocols, not rules, the correct timing is whatever the study you are replicating used.
Peptide administration best practices come down to three things: a clean workspace, the right needle, and steady technique. Subcutaneous injection delivers the peptide into the fatty tissue just under the skin, where it absorbs steadily.
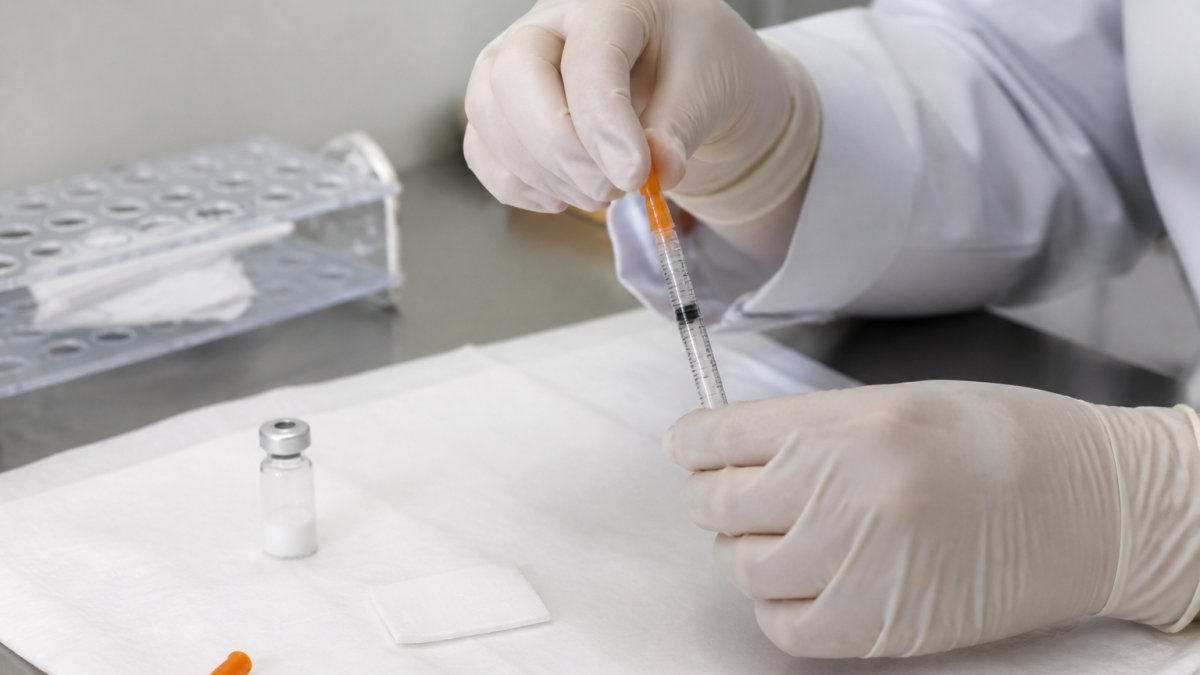
Wash your hands, wipe the vial stopper and injection site with an alcohol swab, and let both air dry. Draw your calculated volume, tap out air bubbles, and insert the needle at a 45 to 90 degree angle.
The angle matters. Thinner individuals often do better at 45 degrees to avoid reaching muscle; anyone with more subcutaneous tissue can usually use 90 degrees.
Rotate injection sites to keep tissue healthy. Common sites include the abdomen, outer thigh, and upper arm; space each new injection at least one finger’s width from the last. Reusing the same spot causes irritation and uneven absorption, so keep a rotation chart.
Storage temperature decides how long a reconstituted peptide stays usable. Lyophilized powder is more stable and can sit in a cool, dark place or the refrigerator; once you add water, refrigeration is the safer default.
Keep reconstituted vials between 2 and 8 degrees Celsius, standard refrigerator range. Protect them from light and never freeze a solution you plan to use soon.
Track stability with a simple label:
A common mistake is losing track of when a vial was mixed. An unlabeled vial is a ruined experiment waiting to happen.
A certificate of analysis is an independent lab document reporting what is actually in your vial. It should list purity, identity, and the testing method used.
Check three things first:
If a supplier cannot show a certificate tied to your batch, treat that as a red flag. Batch-level testing matters more than a generic sample report.
This is where a supplier’s process shows. At Rejuvenation Wellness Solutions LLC, every product undergoes independent lab testing with a Certificate of Analysis so you can verify purity before you dose.
Post-injection monitoring is the step most guides skip, yet it catches problems early and shows whether a protocol is working. It has two halves: objective markers you measure and subjective markers you record over time.
Log each injection: date, time, site, dose, and any reaction. Patterns show up fast when written down, a reaction at one site points to technique; at every site, to the compound or diluent.
Timing expectations follow from half-life and mechanism. A short half-life peptide may produce noticeable effects within hours; one working through downstream signaling (GH release, tissue repair) may take days to weeks. If you see nothing after several half-lives, the issue is usually dose, frequency, or compound quality, not the monitoring method.
| Problem | Likely Cause | Fix |
|---|---|---|
| Redness at site | Skin irritation or preservative sensitivity | Rotate sites, use fresh swab, try sterile water for single-use vials |
| Bruising | Nicked a small vessel | Apply light pressure, avoid the same spot for several days |
| Cloudy solution | Poor mixing or contamination | Discard and remix fresh; do not inject cloudy solution |
| Visible particles | Undissolved powder or contamination | Swirl gently; if particles persist, discard |
| Pain during injection | Cold solution or rapid plunger push | Warm vial to room temperature, inject slowly |
| Inconsistent results | Wrong draw volume or degraded peptide | Recheck with a calculator, verify storage temperature |
| No effect after expected window | Dose too low, frequency too low, or degraded compound | Recheck half-life, verify certificate of analysis |
| Systemic reaction (flushing, dizziness) | Rapid absorption or sensitivity | Stop, monitor, consult a qualified professional |
The most common reconstitution error is adding the wrong water volume and not recording it, which makes every subsequent draw volume wrong. Next is spraying water directly onto the powder instead of letting it run down the vial wall, which can denature the peptide; third is shaking instead of swirling. Any of these can produce a solution that looks fine but underperforms.
Sharps safety protects you and everyone around you. Used needles go into a sharps container, never a trash can or recycling bin.
Follow these steps:
Empty glass vials should be handled carefully and disposed of according to local guidance. Keep sharps containers out of reach of children and pets.
A repeatable protocol separates clean research from guesswork. The steps are simple but demand consistency: reconstitute carefully, confirm your math, inject with sterile technique, store properly, verify purity, monitor, and dispose safely.
Rejuvenation Wellness Solutions LLC supports that work with 99%+ pure peptides, a Certificate of Analysis with every order, and complete kits that include bacteriostatic water, syringes, and alcohol swabs.
Get started with Rejuvenation Wellness Solutions LLC and build a peptide protocol you can trust from the first draw to the last.
Work on a clean, uncluttered surface and wash your hands before starting. Wipe the vial stopper and the injection port with a fresh alcohol swab and let both air dry. Swirl the vial gently after adding bacteriostatic water instead of shaking it, since shaking can damage the peptide sequence. Use a new insulin syringe for every draw and never reuse a needle. Keep a sharps container within reach so the needle goes straight in after use.
Divide the total peptide mass in the vial by the volume of diluent you added to get the concentration in micrograms per milliliter. Then divide your target dose by that concentration to find the draw volume. For example, 5 mg in 2 mL gives 2,500 mcg/mL, so a 250 mcg target dose means drawing 0.1 mL. A peptide reconstitution calculator removes the arithmetic risk, especially when a vial label uses milligrams and your protocol is written in micrograms.
Bacteriostatic water contains 0.9% benzyl alcohol, which slows bacterial growth and lets you draw from the same vial repeatedly over several weeks. Sterile water has no preservative, so any vial you puncture is best used in a single session. For lyophilized powder you plan to reconstitute and store, bacteriostatic water is the usual choice. Check your protocol and the peptide’s storage guidance before deciding, since some assays call for preservative-free diluent.
Start with the lot number and test date to confirm the report matches your vial. Check purity, usually reported by HPLC as a percentage, and confirm it meets the 99%+ standard the supplier claims. Look at the mass or molecular weight result to verify the peptide sequence is what you ordered, and review any residual solvents, water content, or microbial limits. A certificate without a lot number, a test method, or a lab name is not usable as documentation.